Nature Photographer Tips
Nature photography is a special art form that involves capturing the beauty of the world around us, and it can include landscape photography, which captures natural worlds and man-made structures, wildlife photography, which focuses on capturing animals in their natural habitats, and macro photography, which captures highly detailed images of tiny subjects. To become a skilled natural photographer, you need to develop an eye for detail and understand how to use the right technique. With some practice and dedication, you can master the craft of nature photography and produce stunning photos.
Being a Natural World Photographer is a hard skill to learn. The best way to capture beautiful images in nature is to use natural light. But when you’re practicing outdoor photography, there are many things that can ruin your shot. Here are five tips for capturing stunning photos in nature.

Learn about natural light.
A Nature Photographer has to learn light. Light is one of the core nature photography tips and photography tips beginners should master, and the biggest improvements often come from learning light and composition. It’s what makes an image pop out at us. If you want to take amazing pictures of nature, learn how to control light. You’ll need to understand the basics of lighting, such as where the sun is in relation to your subject, and how to position yourself so that you can capture the perfect picture. Positioning yourself with the sun at your back often gives cleaner light on the subject. Overcast days create soft light that works especially well for foliage and reduces harsh shadows. Check weather conditions before heading out, because weather changes the quality of nature photos.
Take photos at sunrise or sunset.
One of the easiest ways to improve your photography skills is to practice taking pictures during different times of the day, especially during golden hour and in the early morning. Sunrise and sunset are ideal because there is less ambient light than at other times of the day. This means that you will have more room to play with the light.
If you want to take better photographs, try taking them during sunrise or sunset. These times offer warm light, and early morning can also be helpful when wildlife is active. The sun rises in the east and sets in the west, which means that the sun will be low in the sky. This means that the shadows cast by objects in your photo will be long and deep. You will also notice that the colors in nature will be brighter and more vibrant.
Find out how camera settings make a good photo.
A good photograph has three things going for it: composition, exposure, and focus. Composition refers to how well the subject fits into the frame, and the rule of thirds divides the frame into nine equal parts to help place it well. Using leading lines and negative space helps direct attention to the focal point and reduces distracting elements. Foreground, mid-ground, and background create depth, while a narrow aperture can keep the entire scene sharp when needed. Exposure refers to the exposure triangle, where shutter speed, aperture, and ISO work together, and adjusting one affects the others. Shutter speed controls how long the camera’s sensor is exposed to light, while ISO determines sensitivity to light and image noise. Focus refers to whether or not the camera focuses on the right part of the entire image, depending on whether you want subject isolation or broad scene sharpness.
The best photographs are those where the subject is in sharp focus and the background is blurred. If you want to take a picture of something that’s moving, use a faster shutter speed to freeze action, or a slow shutter speed for blur. For example, if you’re photographing a waterfall, longer shutter speeds can blur the water for a more dynamic photo, while a quick setting freezes it instead. That means you can choose between motion blur and a dynamic photo that feels crisp and energetic.
Don’t forget wildlife photography and taking pictures of people too.
If you’re interested in taking better photos, as a Nature Photographer, start with the basics. First, make sure you have a stable tripod so that you can capture sharp images without having to worry about shaking hands, reduce camera shake in low light, and keep shots crisp when using longer lenses. Next, use a wide aperture (f/2.8) to ensure that you’ll get a shallow depth of field. This will allow you to blur out any background distractions while still capturing the crisp details of your subject. A narrower aperture setting can keep more of the frame sharp when you want depth throughout the scene. Finally, experiment with different shutter speeds and choose your camera settings intentionally, using Aperture Priority to control depth of field or manual mode when you need full control. When light allows, use a low ISO around 100-400 to preserve detail. You should also consider using neutral density filters to reduce the amount of light entering the lens and help with longer shutter speeds. For the best final image, shoot in RAW or raw images for better white balance control and more flexible editing.
When photographing people, try to avoid shooting them from below. The angle makes it difficult to capture the person’s facial expressions, which can be important if you want to convey emotion in your photographs. Also, keep in mind that most people prefer to look at the camera rather than at it.
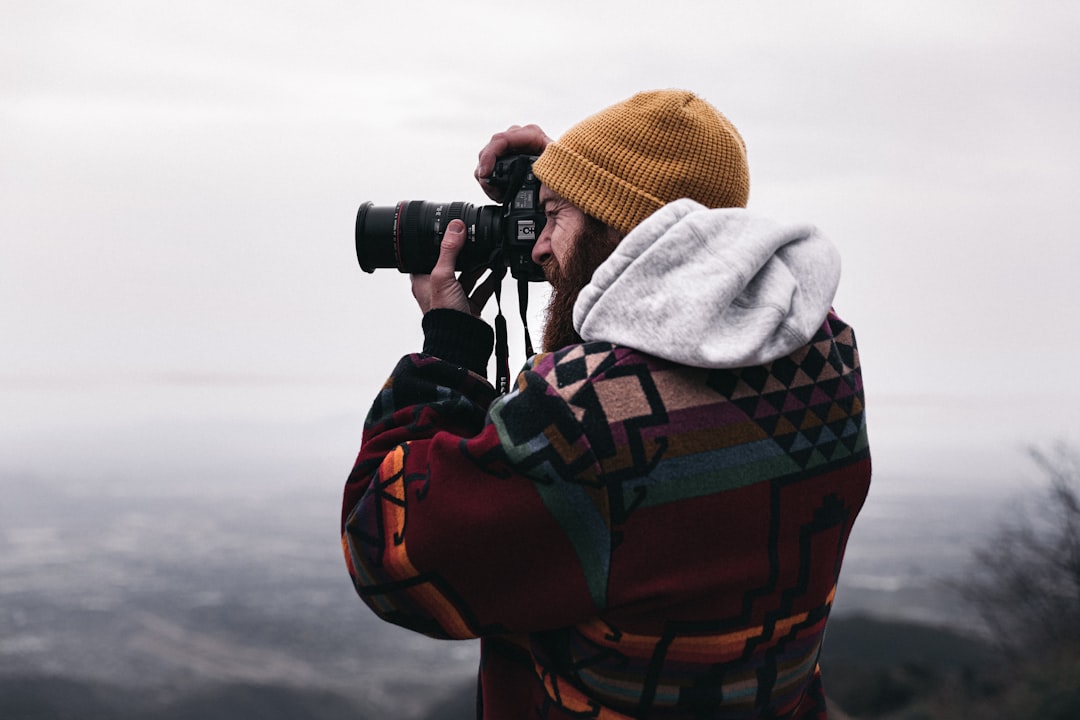
Be patient.
In addition to practicing, a Nature Photographer needs patience, especially for wildlife photography and photographing animals. It’s easy to become frustrated when you want better wildlife photos, but patience is key, and watching animal behaviour before shooting often leads to stronger results. Practice in local parks to capture wildlife and build skills before bigger trips. Research locations, each natural habitat, and likely wildlife subjects in advance so you can plan better and reduce missing shots. A telephoto lens is a smart choice here; many wildlife photographers start with at least 300mm and often prefer 400mm or more for wild animals. To photograph wildlife in motion, use shutter priority mode or Manual mode with continuous autofocus and around 1/1000 to 1/2000 sec. Keep a safe distance from dangerous animals, avoid baiting, and never disturb them for a photo. Stay a few extra minutes and, when safe and appropriate, get low for more natural animal portraits. However, if you keep at it, you’ll eventually develop a knack for it.
“I think the most important thing is to be patient,” says photographer David Burdick. “You can’t rush photography.” He recommends taking lots of photos before you decide which ones are worthy of being printed, then reviewing them afterward to improve your creative vision and avoid repeating the same mistakes. You might want to practice on familiar subjects in nearby parks before moving on to bigger outings. If you’re having trouble getting the right angle, try using a tripod.
Buy Fine Art Nature Prints from Jardene Photography
Jardene Photography is an award-winning company based in Calgary, Alberta. We sell fine art nature prints in Alberta Nature photography, including wildlife and landscape photography. You can check out our website for more information. Alternatively, you can browse our shop to see our fine print collection.